How to Remove Wallpaper Safely and Prepare Walls for Painting
Removing wallpaper and painting your walls can seem daunting, but with the right approach, it’s a manageable DIY project. Here's how you can do it:
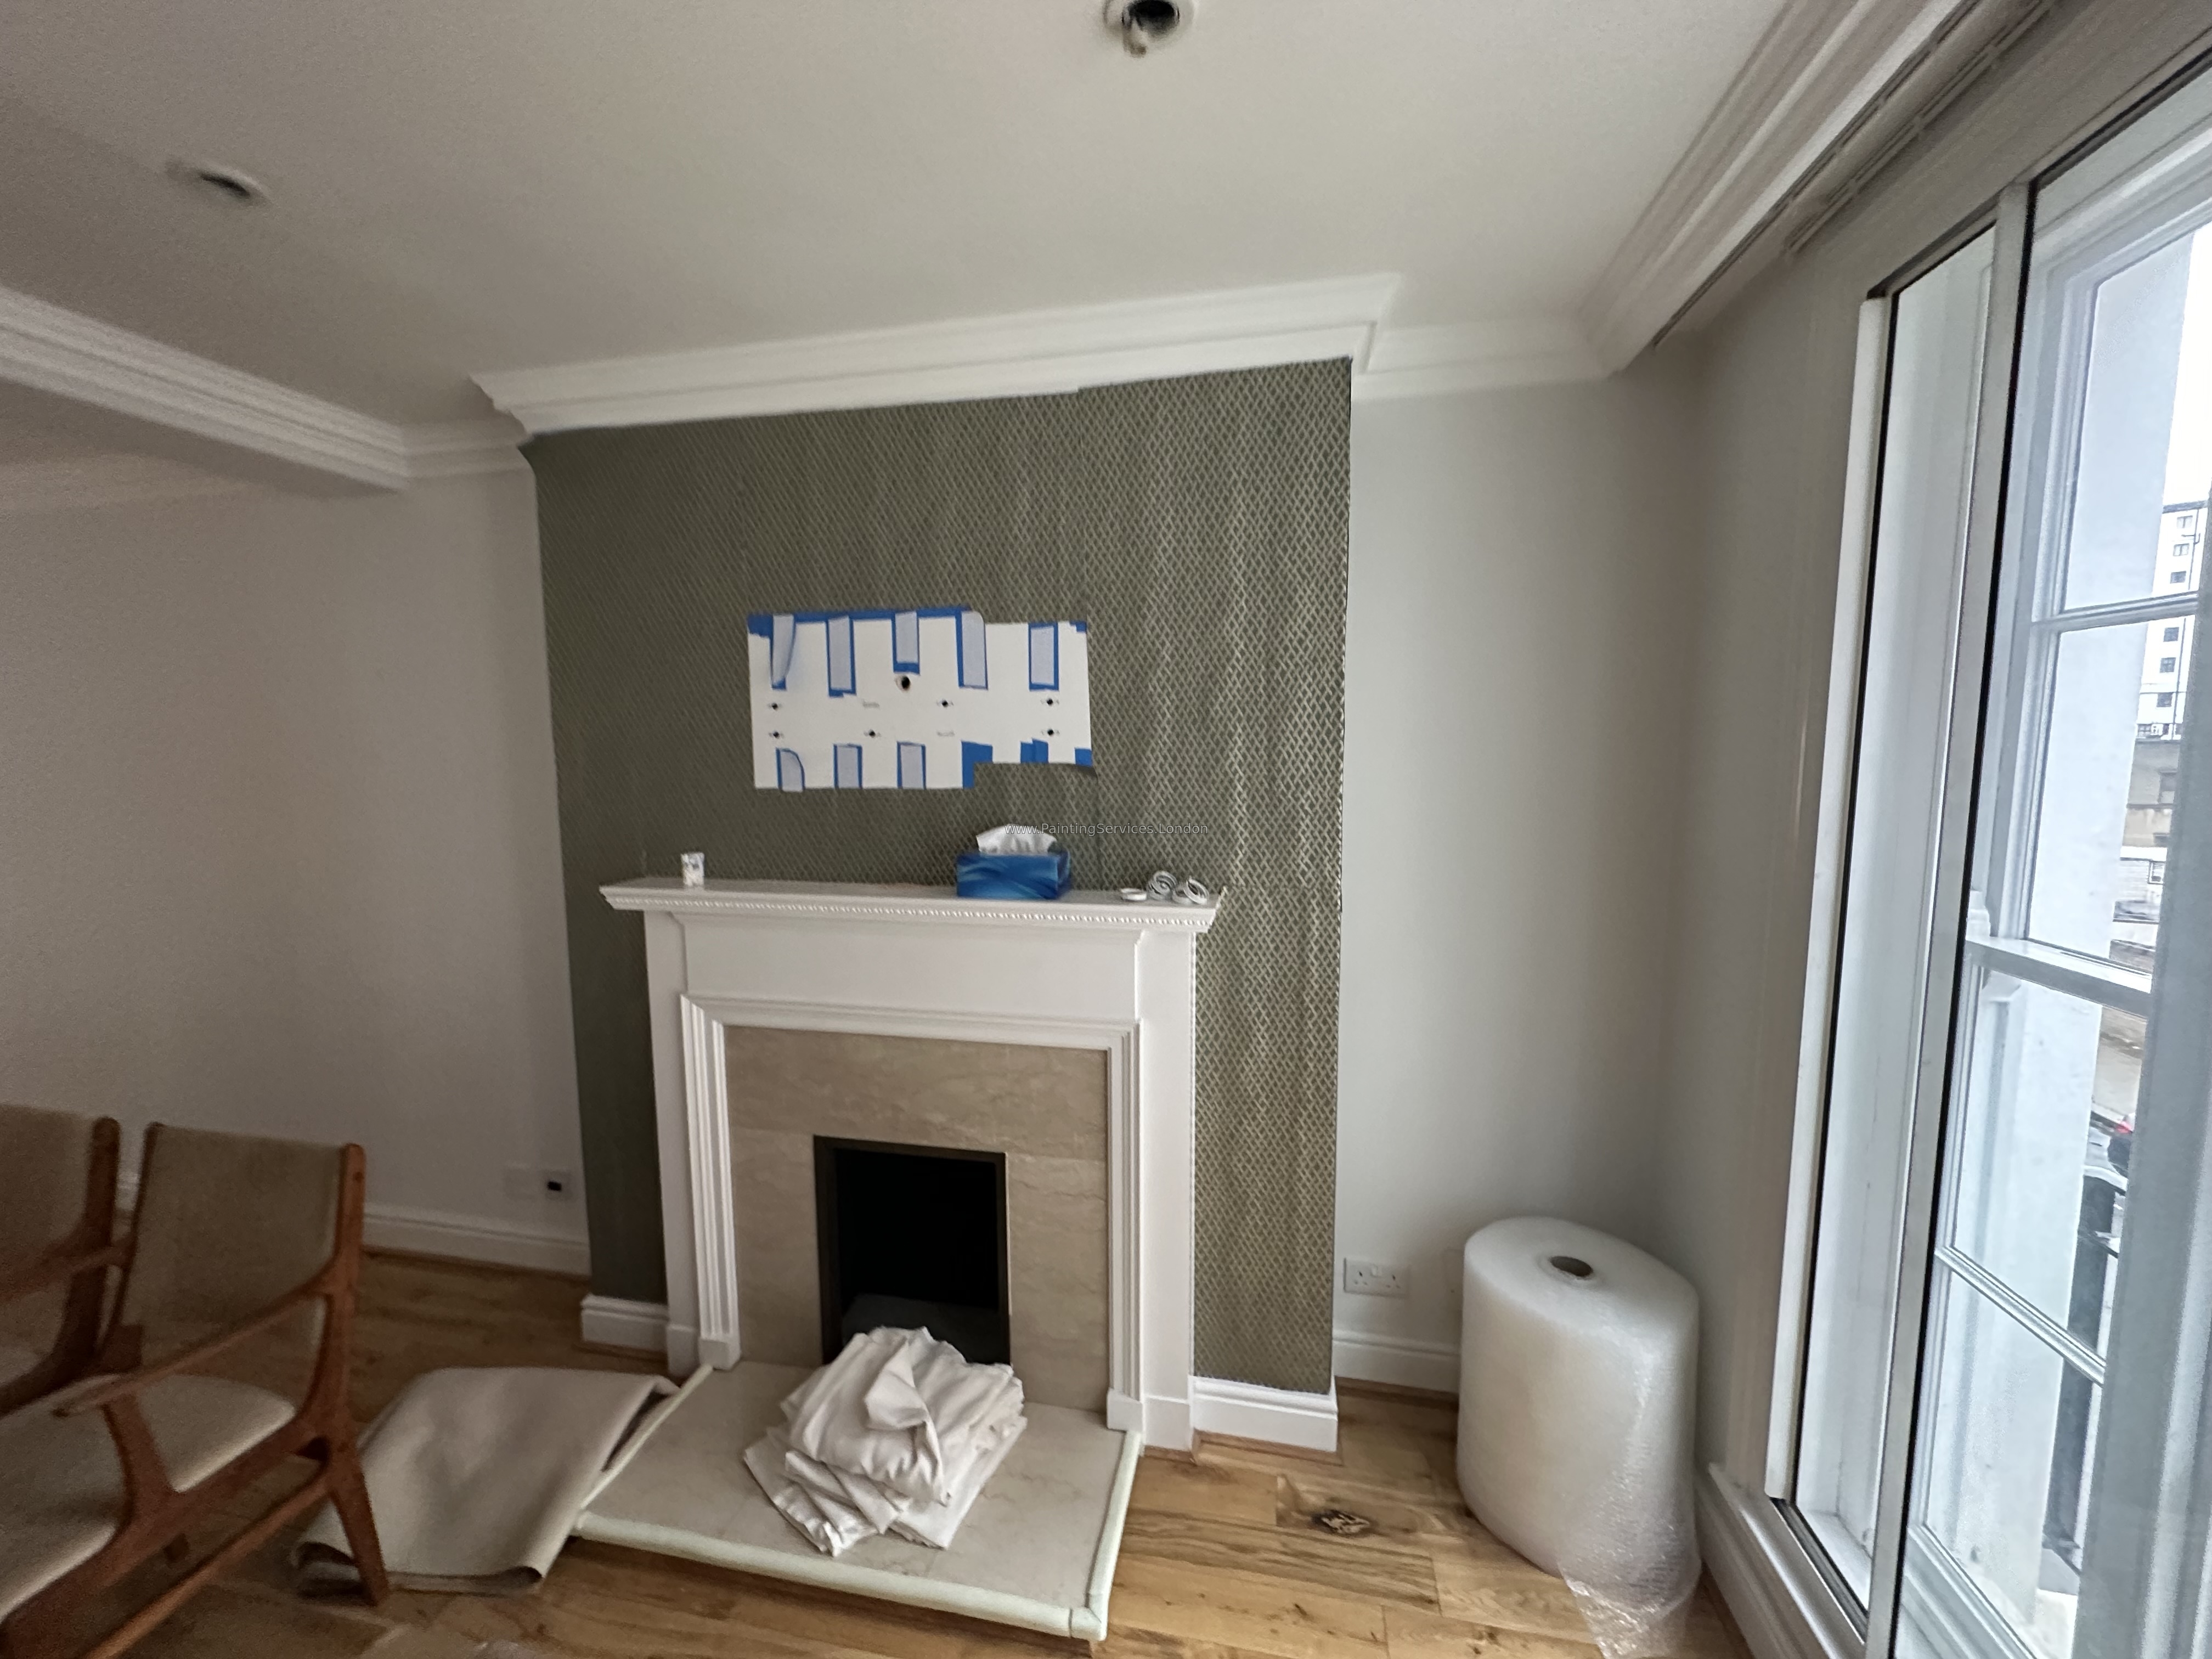
Step 1: Remove the Wallpaper
Begin by carefully removing the wallpaper. A small spatula or scraper will make this task easier. Work from a corner and gently peel away the paper, using the spatula to lift stubborn areas.
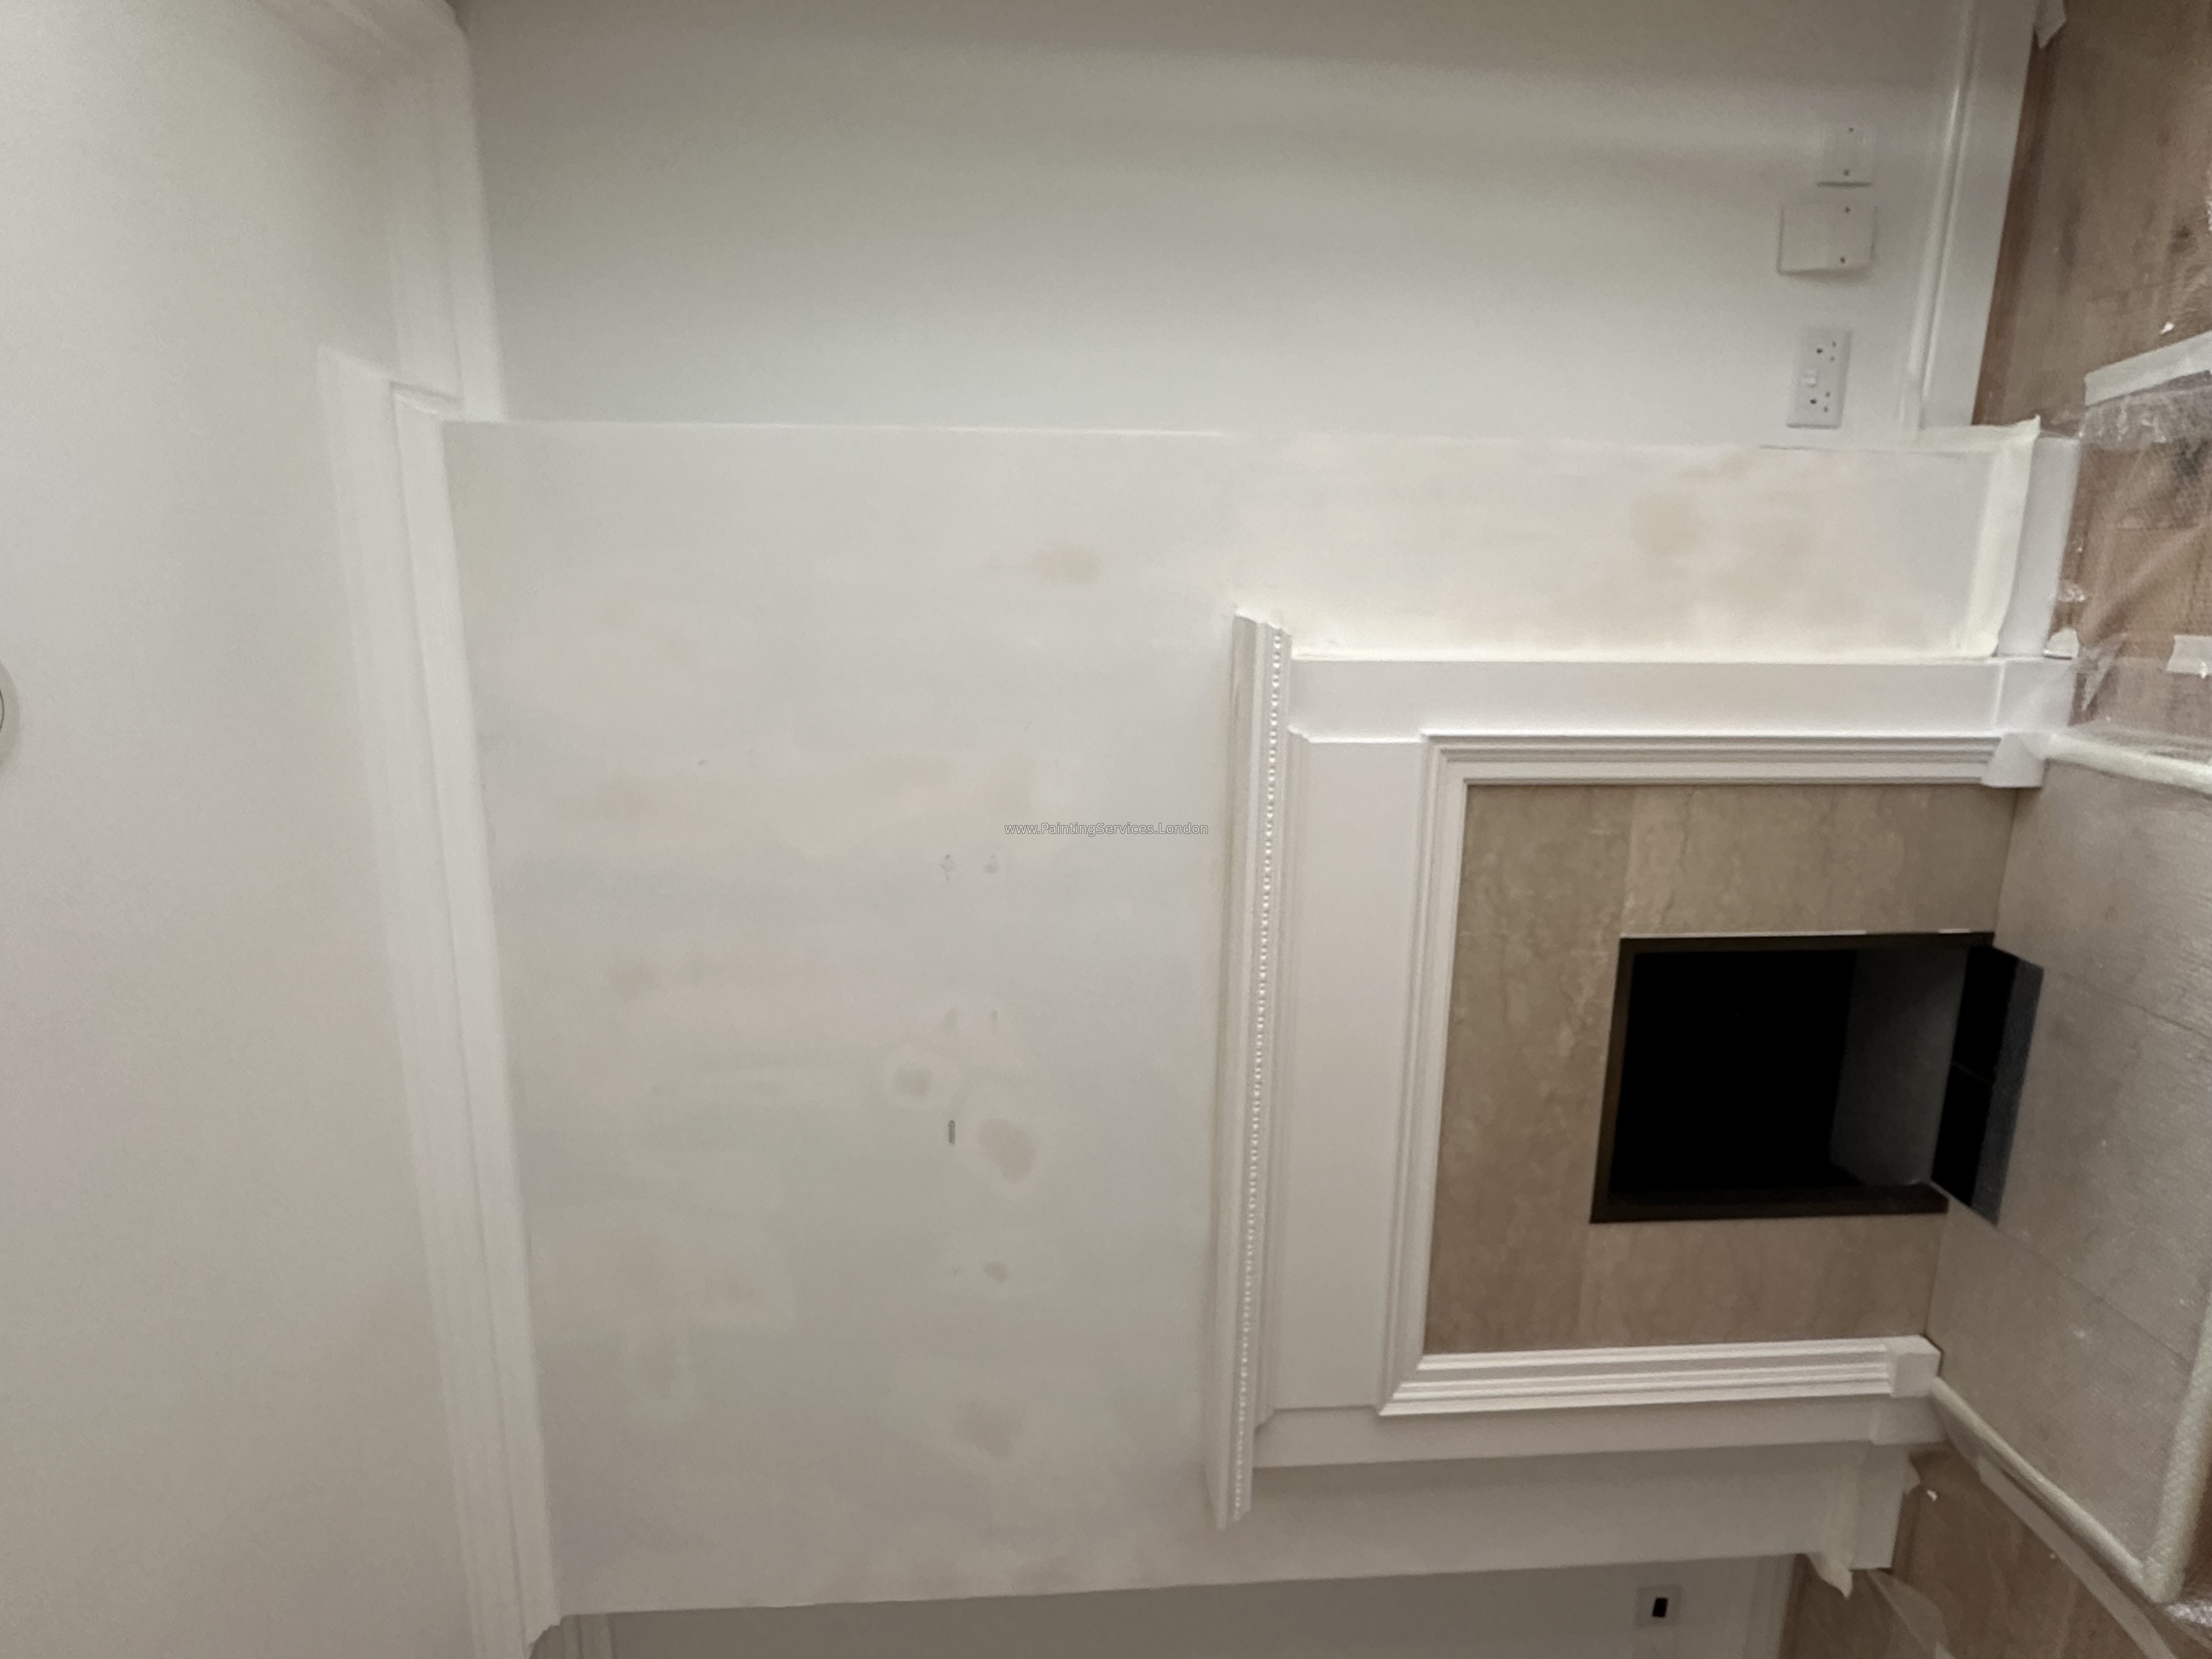
Step 2: Clean the Wall Thoroughly
Once the wallpaper is removed, it’s crucial to clean the wall of any leftover adhesive, small bits of wallpaper, or other residues. This step ensures a smooth surface for painting.
Step 3: Repair the Wall
Inspect the wall for any damage caused during the wallpaper removal. Use filler to repair any areas where old paint or plaster has come away with the wallpaper. Pay special attention to corners and small cracks; decorators caulk is ideal for these repairs as it dries quickly and is easy to apply.

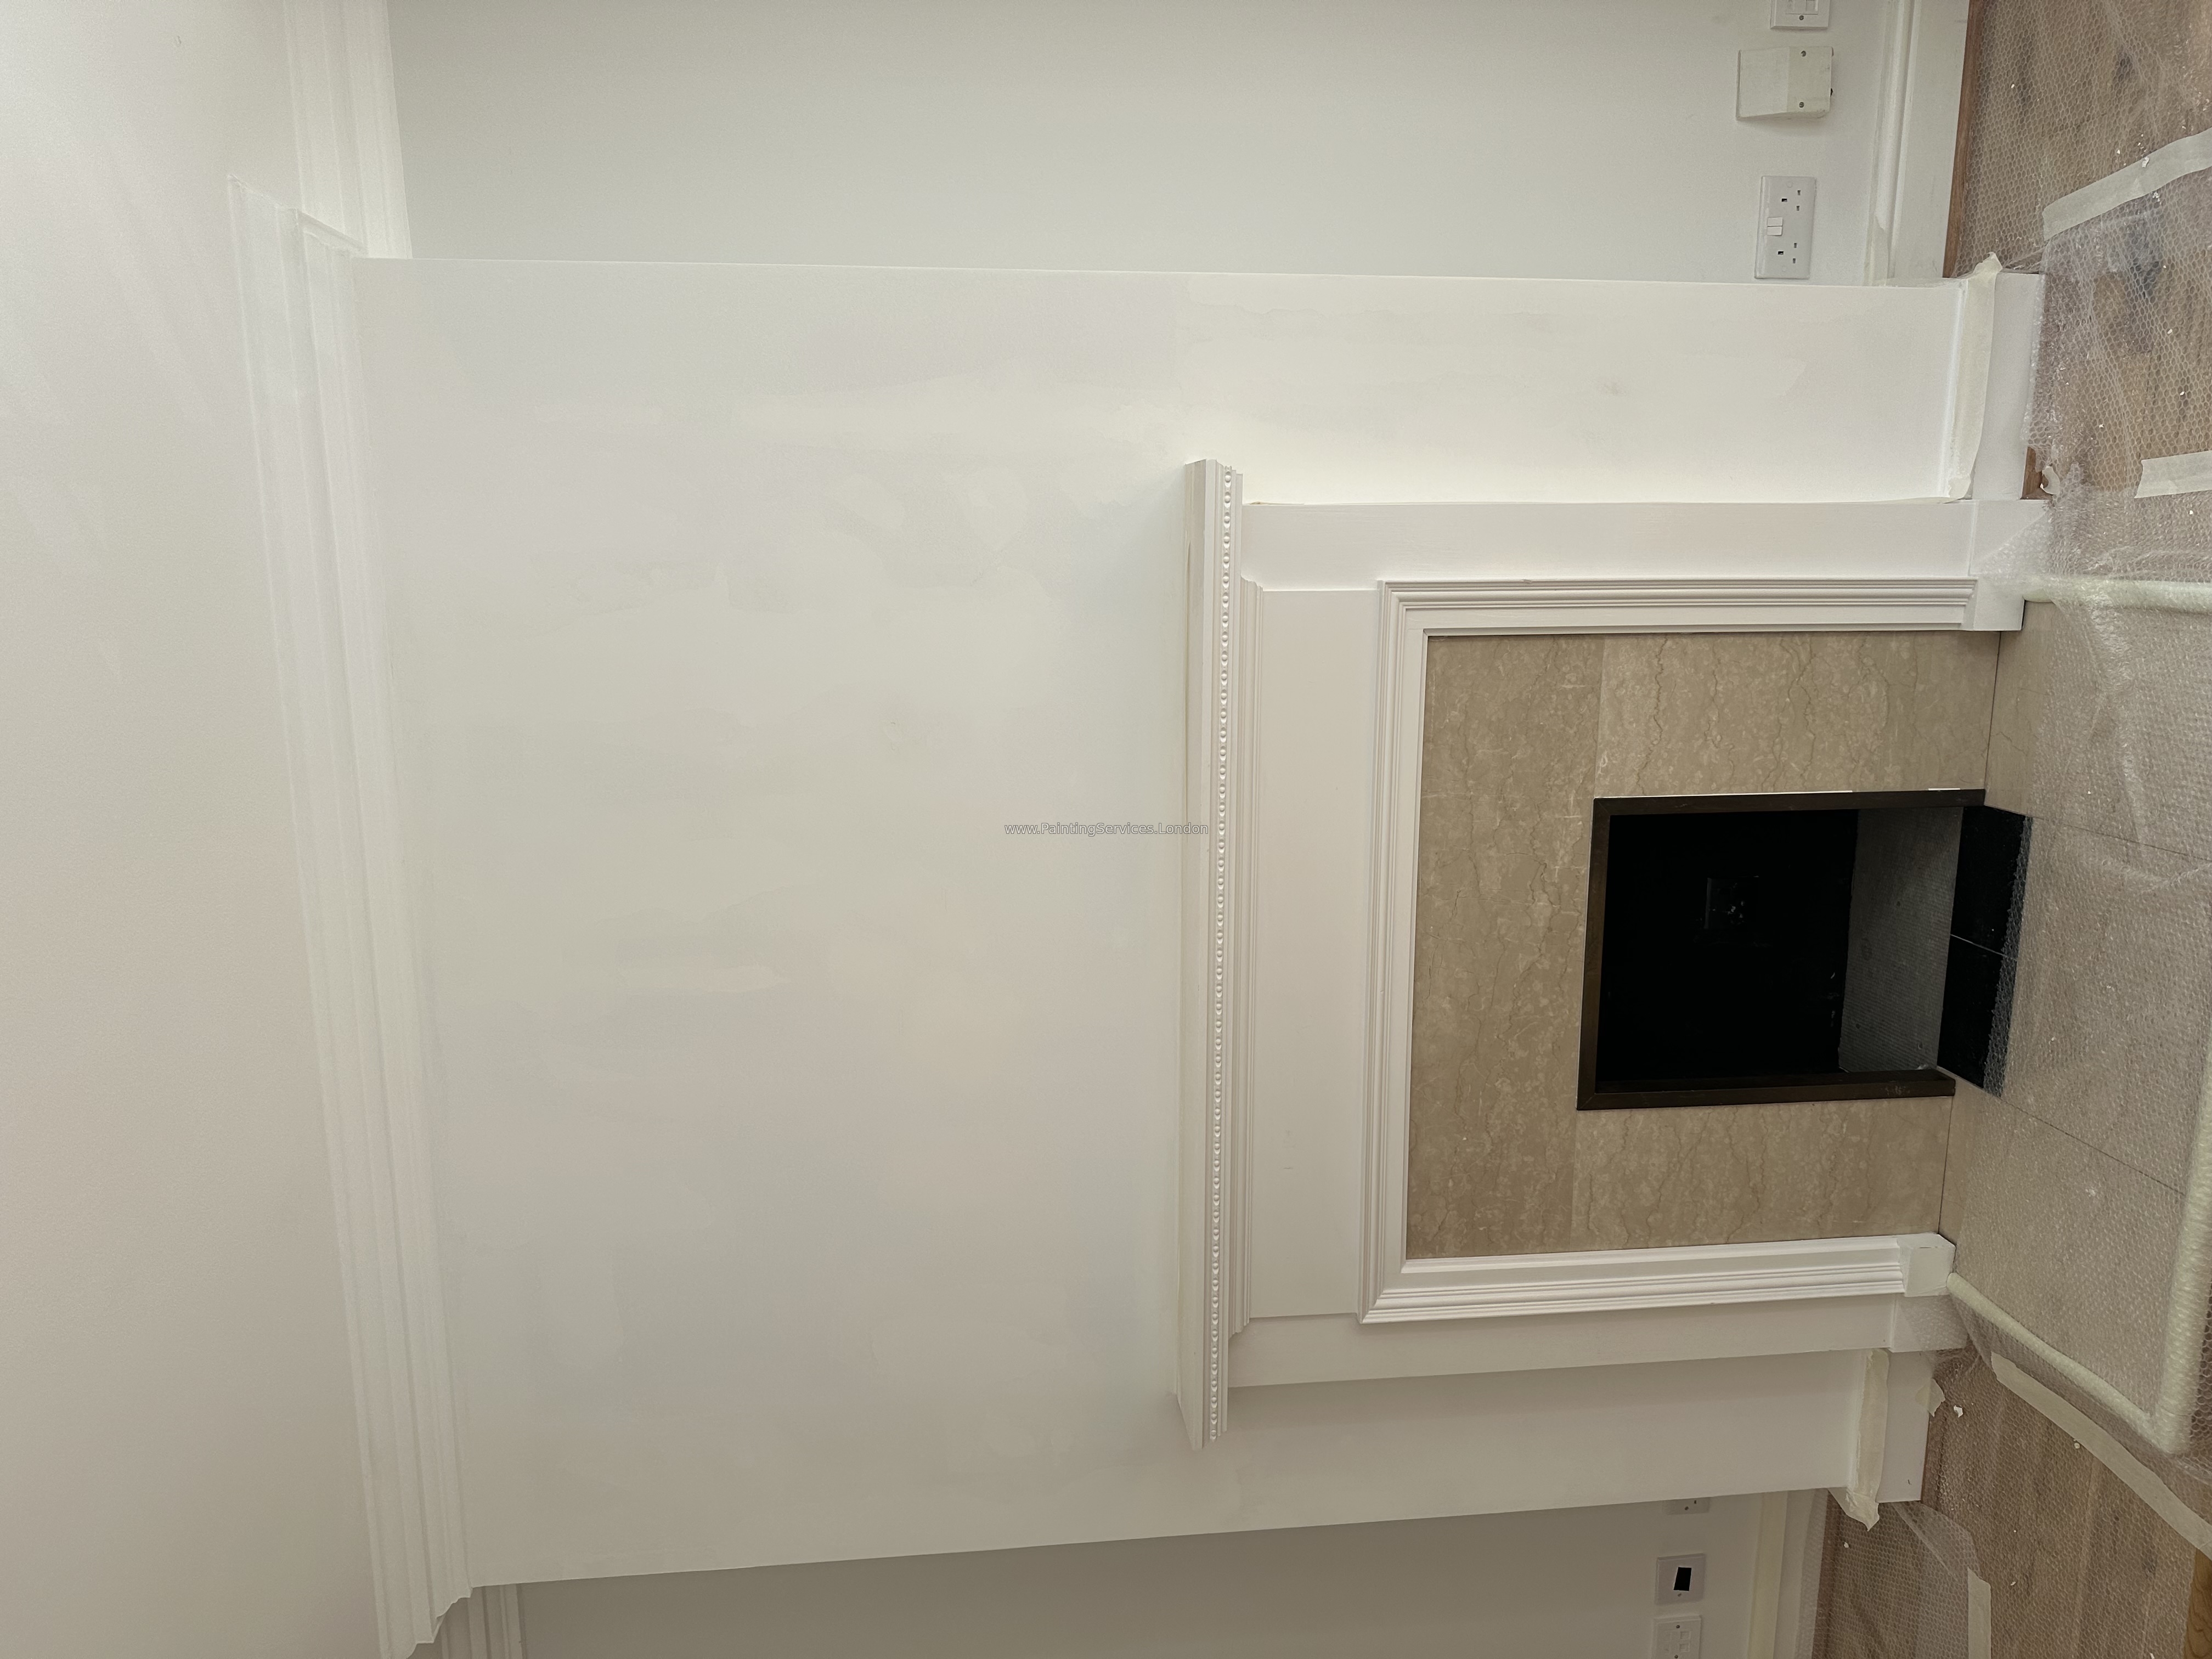
Step 4: Sand and Seal the Wall
After the filler has dried, sand the patched areas until they are smooth. Next, seal the entire wall, not just the repaired spots. This step ensures an even finish when you apply the paint.
Step 5: Touch-Up Before Full Painting
Before you begin painting the whole wall, apply a touch-up coat to the areas you’ve repaired. This will help blend them into the rest of the wall when you apply the final coats.
Painting the Wall with Emulsion
Step 6: Gather Your Materials
To start painting, ensure you have everything you need:
- A small and large roller
- A paint tray
- Brushes for detailed work
- Spatula and sandpaper
- Masking Tape (48mm x 50m) to protect edges
Step 7: Paint the Corners
Using a brush, carefully paint the corners of the wall, extending about 8-10 cm from the edges. This will create a neat border when you use the roller for the main section.
Step 8: Paint the Wall with a Roller
Start rolling from one side of the wall to the other, applying paint evenly across the surface. Whether you prefer to start from the left or right is up to you—just keep your strokes consistent.
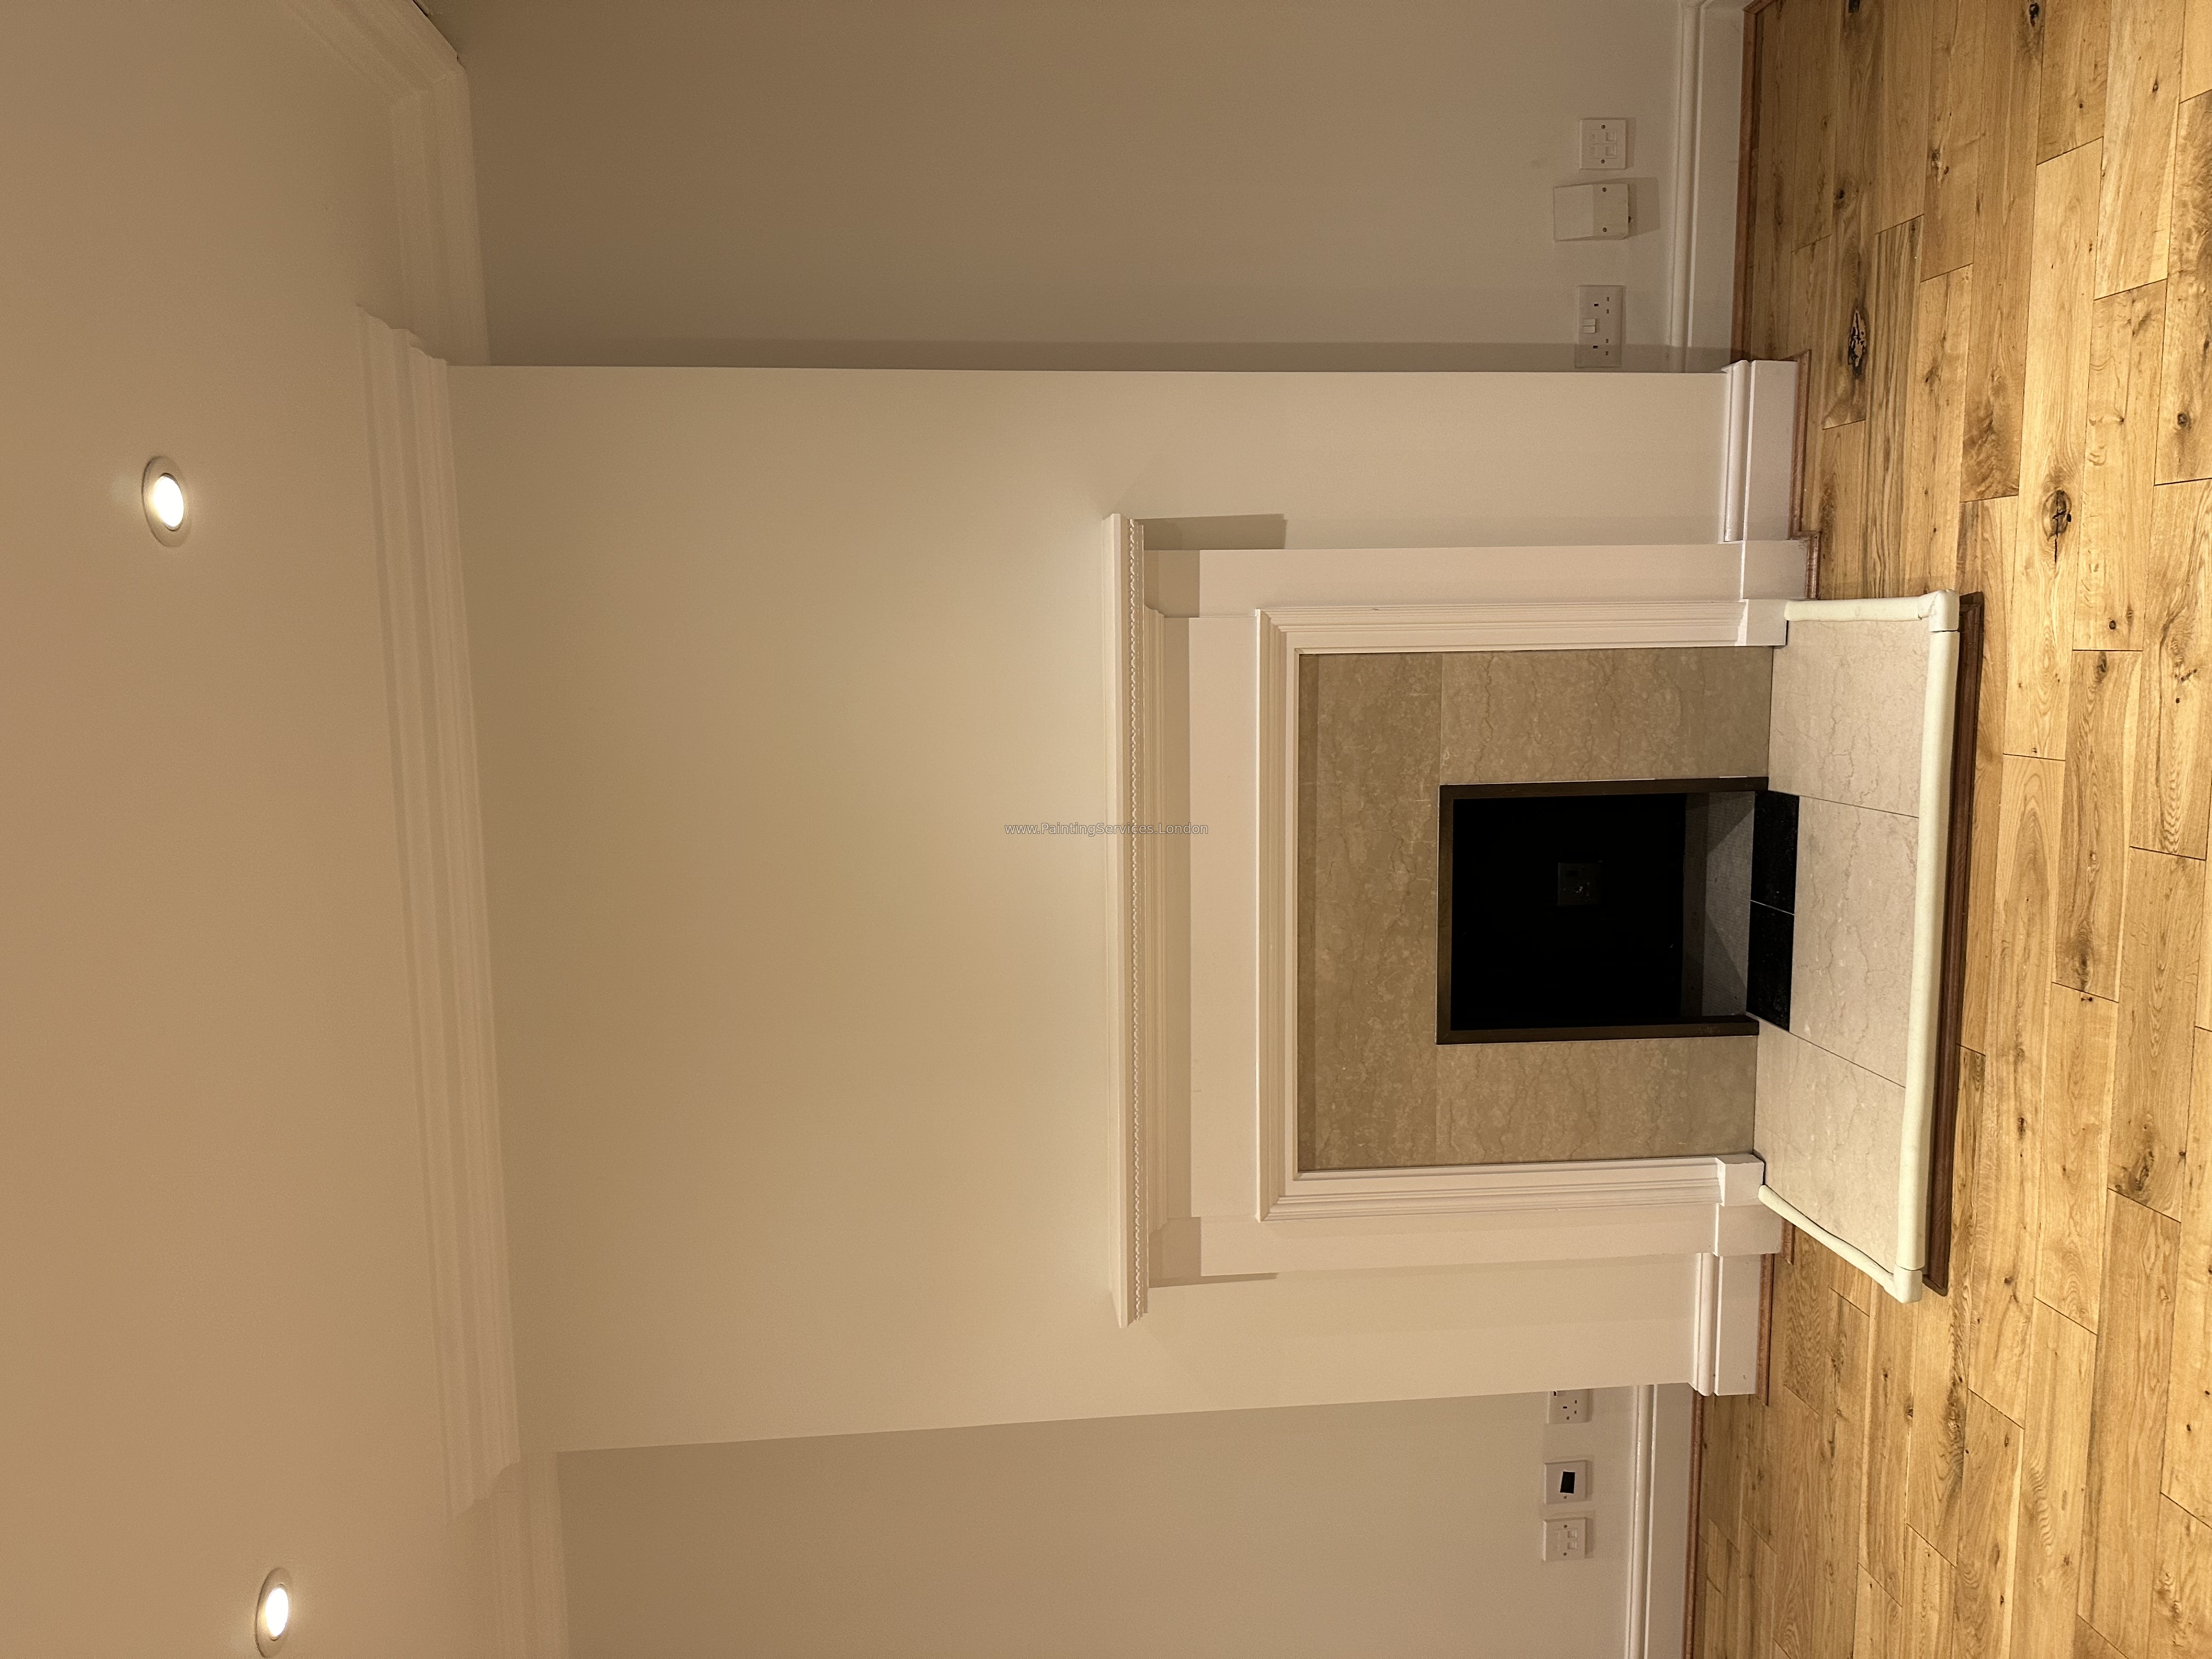
Step 9: Evaluate and Recoat if Necessary
Once the first coat of paint is dry, assess the wall. If you’re painting a light color over a dark one, you may need to apply a second or even third coat for full coverage.
Tip: Always allow each coat to dry thoroughly before applying the next.
We hope this guide helps you achieve a beautifully painted wall that transforms your space!


